

How Hard Is It to Change a Clutch on a Audi
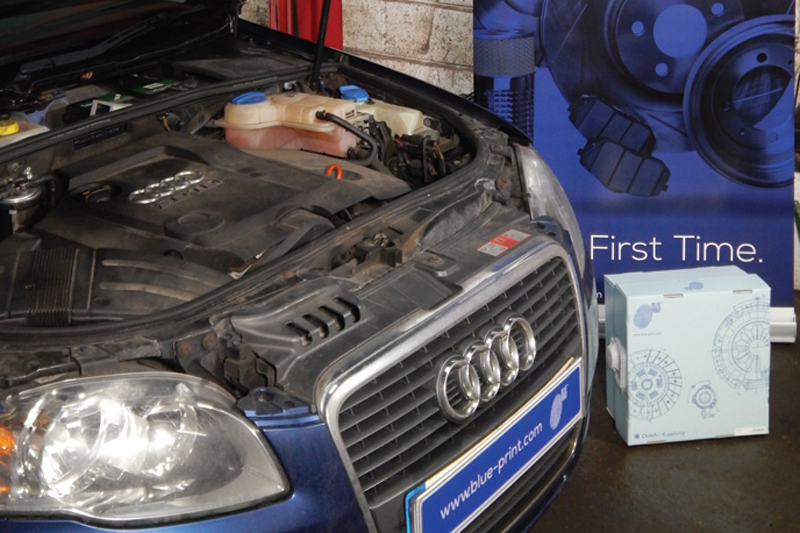
In this month's Clutch Dispensary, Charles Figgins, Technical Marketing Manager at Blue Print, presents a pace-by-step guide to replacing the clutch on a 2008 Audi A4 Avant B7 2.0 TDi.
Traditionally, vehicle manufacturers accept configured their engine and transmissions within the chassis by mounting them transversely for front-wheel drive and longitudinally for rear-wheel drive cars.
However, for many years and for many of its models, Audi has opted to fit its engines and transmissions longitudinally using a front-wheel-drive transaxle. This arrangement is also used in the four-wheel drive 'Quattro' variants, which feature in nigh model ranges.
The model featured in this article is a 2008 A4 Avant B7 2.0 TDi fitted with a 01X front end-wheel bulldoze six-speed transmission. It was reported that the vehicle had clutch judder – when cold – and a rattling noise coming from the transmission area. This required the transmission to be removed and the clutch and flywheel to be inspected in lodge to fully diagnose the fault and rectify information technology.
Replacement process
Once the vehicle was brought into the workshop, the bonnet was opened, and the engine encompass was removed. After checking that the ignition was switched off, the bombardment was then disconnected.
Pro tip: Whilst working in the plenum sleeping room, where the battery and fuse box are located, it is appropriate to check the water drain outlet. On this model, it is very common for the outlet to exist blocked up with tree droppings. If blocked, the battery area fills upwards with h2o which can lead to many electrical issues!
The vehicle was then raised upward to a working meridian in order to gain admission to all other items that required removal from under the vehicle. So, the engine and manual under trays were removed, along with the nether tray retaining bracket (note: this saves it from existence damaged when the manual is removed).
All but ii of the bell housing bolts (including the two that retain the starter motor) were located, undone and secured as necessary. At this point, it was important to brand a note of where each bolt came from because the bolts vary in size and length.
Pro tip: Be advised that the engine and manual used in this application are used in many other configurations within the VAG range. This means many spare mounting holes are not used.
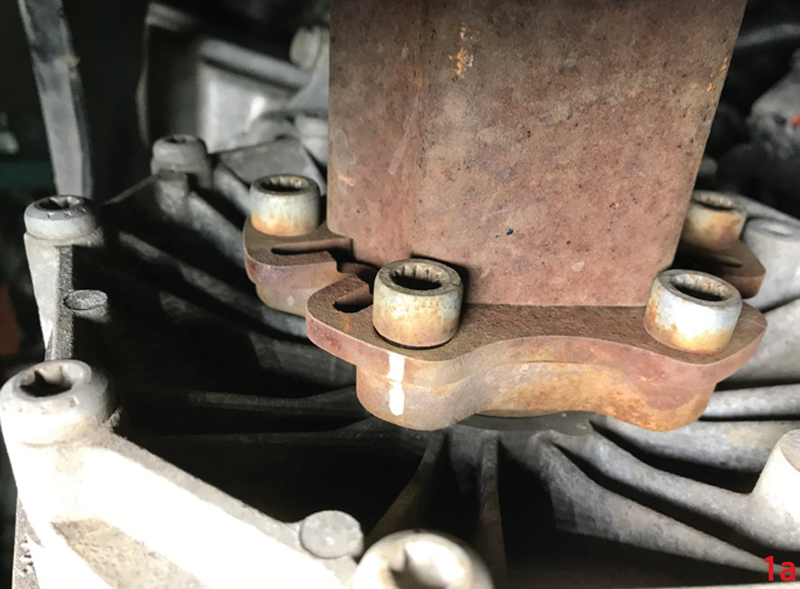
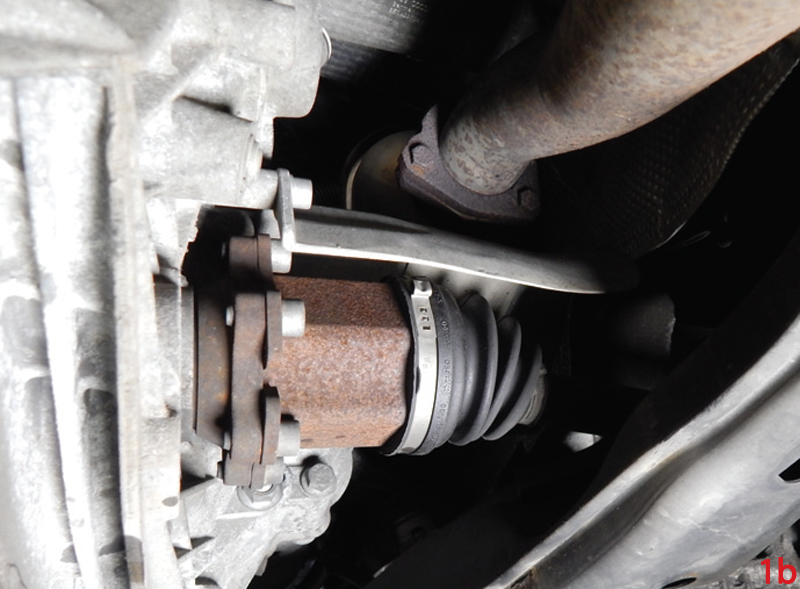
The heatshield (higher up the right-hand driveshaft) was then removed. Post-obit this, the original position of each driveshaft was marked before all of the bolts that retain them to the drive flanges were undone. Later marking, they were positioned to one side (Fig 1a and 1b).
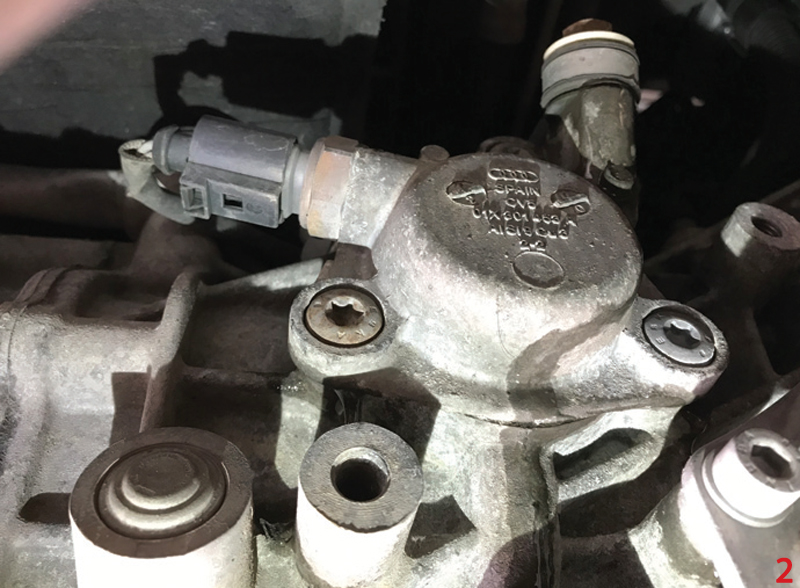
On the right-hand side of the transmission the reverse lamp switch was located. The wiring loom was unclipped so secured. In a higher place this switch was one finish of the gear selector rod. The retaining bolt was removed and put to one side (Fig two).
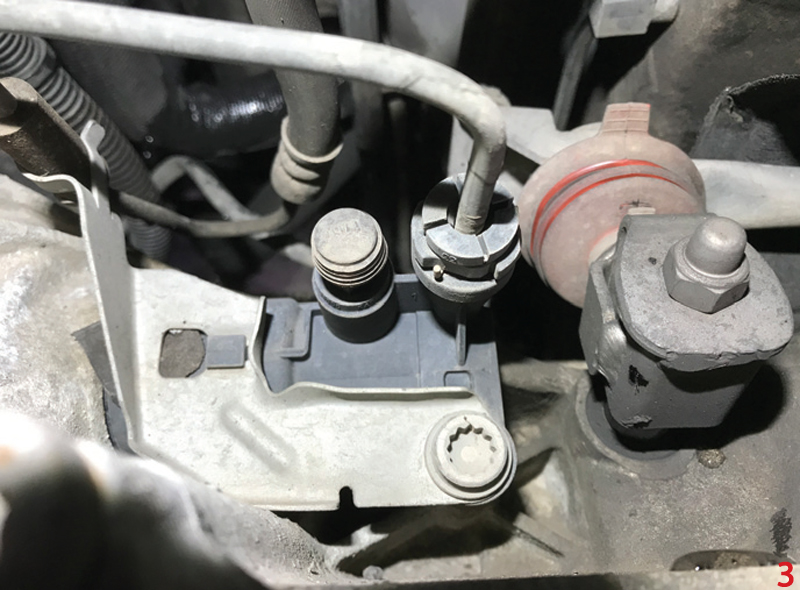
On the left, the clutch slave cylinder and the other end of the gear selector rod was located. The hydraulic hose was clamped to the slave cylinder to forestall any fluid loss. The pipe was then unclipped from the slave cylinder and capped at the cease to reduce dirt ingress. The retaining nut from the gear selector was then unfastened and removed (Fig 3).
Next, with the transmission supported, all of the retaining bolts for the transmission cross member were undone as this component too required removal.
Pro tip: This tin be achieved by lowering the exhaust – either by unbolting it from the manifold or by removing the frazzle hanger (located in the center of the exhaust), in gild to give enough room between the exhaust and the floor of the car (Fig 4).

With the transmission slightly lowered, the gear selector steady bar was unfastened. Then, before attempting the removal of the transmission, information technology was important to check that all retaining bolts were removed and that all electrical cables and pipes were costless. With everything checked and clear, the transmission was removed abroad from the vehicle.
With the manual removed, the flywheel was locked in place to stop the engine from turning. The original self-adjusting clutch and dual-mass flywheel were unbolted and removed for inspection after 225,000 km (140,000 miles) of apply. Beginning, the flywheel was checked, where some bluing on the friction surface was discovered. This was due to the excess heat created past the worn clutch. Equally a result, a rock test was too carried out on the flywheel, even so information technology subsequently failed the 2.9mm limit.
Turning our attention to the release mechanism, the release bearing was removed from the clutch release lever; this had go dry out and noisy with usage and age.
After inspecting all of the parts of the clutch mechanism, the conclusion was that the clutch kit and flywheel were in need of replacement. Blue Print's SMARTFIT Solution Clutch Kit, ADV1830146, was selected to replace the original self-adjusting clutch.
The advantage with this kit is that it has no sensitive adjustment machinery, which ways it doesn't require any initial ready-upwardly with a special tool. The SMARTFIT solution kit besides replaces both possible clutch kits that could have been originally fitted to this vehicle, making it easier for the workshop.
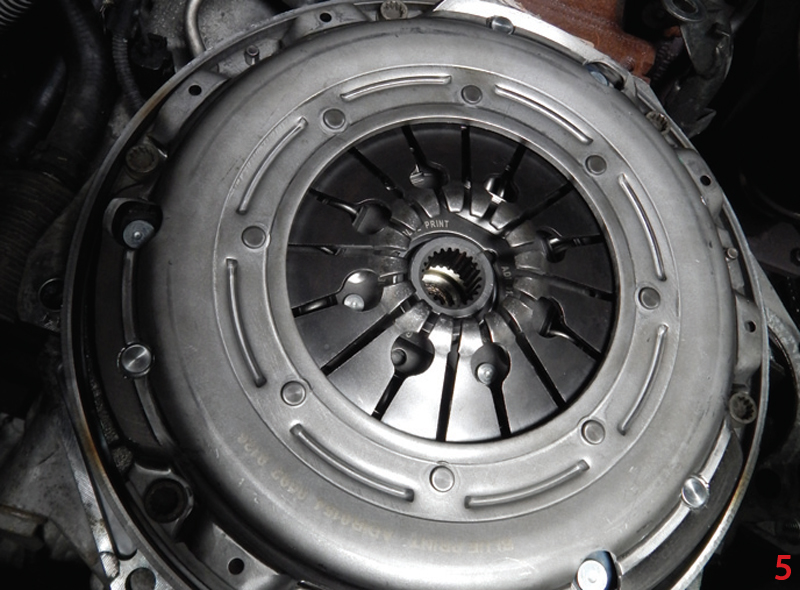
Earlier fitting any new components, all mating surfaces at the rear of the engine and the manual bell housing were cleaned in order to exist free of all grease, clay and onetime friction fibres from the previous clutch. The new dual-mass flywheel, ADV183508, and retaining bolts, ADV183315, were fitted to the engine forth with the new clutch. All of the bolts were then tightened to the manufacturer's recommended tightening figures, evenly and in sequence, before all components were secured and correctly aligned (Fig 5).
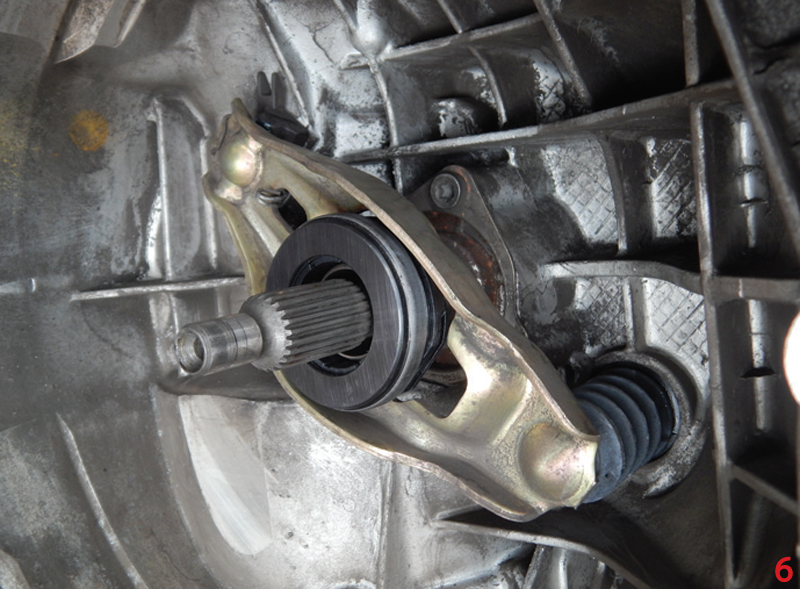
Before refitting the manual to the engine, the new release bearing was assembled with the release lever and and so fitted with pre-greased pivot points to ease performance (Fig 6).
With all of the clutch components replaced, the engine was supported with an additional transmission jack. All cables, pipes and the gear selector linkage were secured then as not to foul when refitting the transmission. With everything secured, the transmission was refitted to the engine. This was followed by refitting all of the parts at the top of the transmission, followed by the cross fellow member (to back up its weight), before the jacks were removed.
All of the other parts that were removed in the process (during removal of the transmission) were refitted, and all of the bolts and fixings were tightened appropriately. The vehicle was then carefully lowered, and the battery reconnected. Post-obit this, the brake/clutch fluid reservoir was topped-upwardly with fresh fluid, the slave cylinder was bled of any excess air, and the clock and ane-touch window functioning were reset. Finally, a road test was carried out to check the clutch operation, which proved that the clutch fault had been fixed.
To find out more than well-nigh the Blue Print range, click here.
DOWNLOAD HERE
How Hard Is It to Change a Clutch on a Audi
Posted by: morgandrome1955.blogspot.com
0 Response to "How Hard Is It to Change a Clutch on a Audi"
Post a Comment